Drawing a bird in flight can seem daunting, but mastering this skill unlocks a dynamic element in your art. Many artists find capturing the right proportions and the sense of motion particularly tricky. If the bird’s body looks awkward, the wings can appear stiff and unnatural. This guide breaks down a simple, effective method to help you accurately portray birds in motion, focusing on achieving correct proportions and conveying a feeling of flight.
Simplify the Bird’s Form
Begin by simplifying the complex shape of a flying bird. Grab tracing paper and place it over a reference photo of a bird in flight. Instead of copying every detail, focus on tracing the basic, simplified shape of the bird underneath.
The image below illustrates how using simple, straight lines over a bird sketch helps in understanding proportions. This technique allows you to analyze the crucial angles and relationships between different parts of the bird’s body. While your drawing doesn’t need to be an exact replica of the reference photo, these simplified lines will guide you in creating a sketch that captures movement and looks proportionally correct.
 Simplified lines outlining bird proportions for drawing.
Observe how straight lines highlight the connection between body parts, aiding in grasping essential angles. Even though my sketch diverges slightly from the reference photo, it successfully conveys motion and avoids looking distorted.
 Sketch of a Macaw bird in flight demonstrating proportion technique.
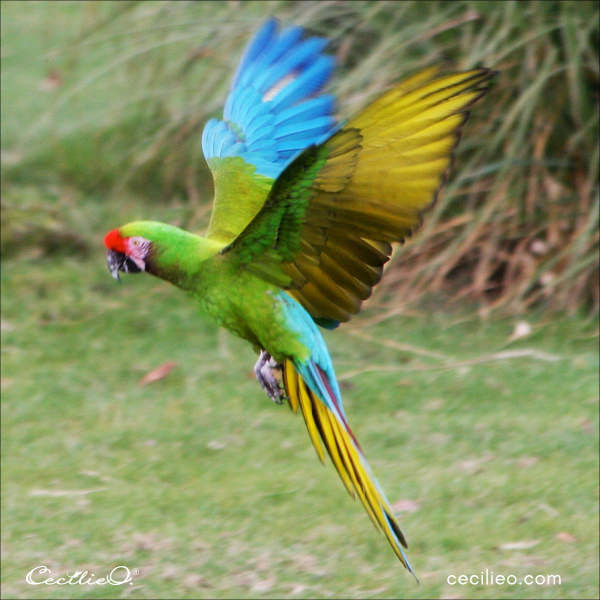 Reference photograph of a Macaw in flight for drawing tutorial.
The Macaw bird in flight, as sketched above, demonstrates the effectiveness of this simplified approach.
Focus on Essential Lines
When starting your drawing, resist the urge to include every detail immediately. Look at your reference image and identify the most essential lines that define the bird’s posture and form in flight.
Consider the Indian Roller in this reference photo. If you are right-handed, position your reference so the bird faces left (and vice versa for left-handed artists). Starting with the head is often easiest, as our eyes naturally move from left to right. This direction also helps prevent smudging as you progress down the body.
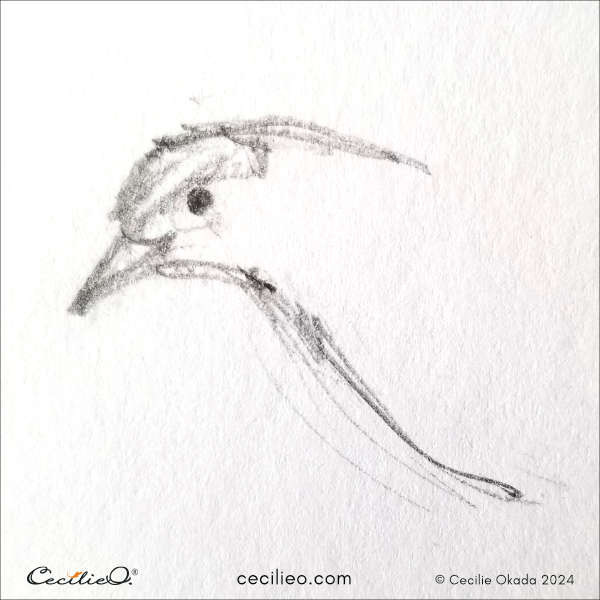 Step-by-step sketch initiation for drawing a flying bird, starting with the head.
Avoid getting bogged down in details at this stage. What you need are simplified lines – a basic representation that captures the essence of the bird’s form. Think of it as creating a wireframe before adding the clay.
Utilize Negative Space
Negative space, the area around and between objects, is incredibly useful in drawing. In this exercise, pay close attention to the negative space, particularly the shape formed between the wings. You’ll notice it resembles a triangle.
 Step-by-step sketch emphasizing the triangle negative space between bird wings.
Once you’ve identified and sketched this triangular negative space, you can start building more of the bird’s body around it. Focus on drawing the parts of the bird that are closest to this central negative space first.
 Step-by-step bird sketch focusing on building form around negative space.
Sketch Wings and Tail
Now, turn your attention to the wings and tail. Carefully assess the angles formed between the wings, body, and tail. Use straight lines to lightly mark these angles on your drawing. Then, sketch simple, blunt outlines for the wings and tail, guided by the angles you’ve marked.
 Step-by-step sketch outlining the wings and tail of a flying bird.
At this stage, focus on getting the overall shape and proportions correct. Don’t worry about feather details just yet.
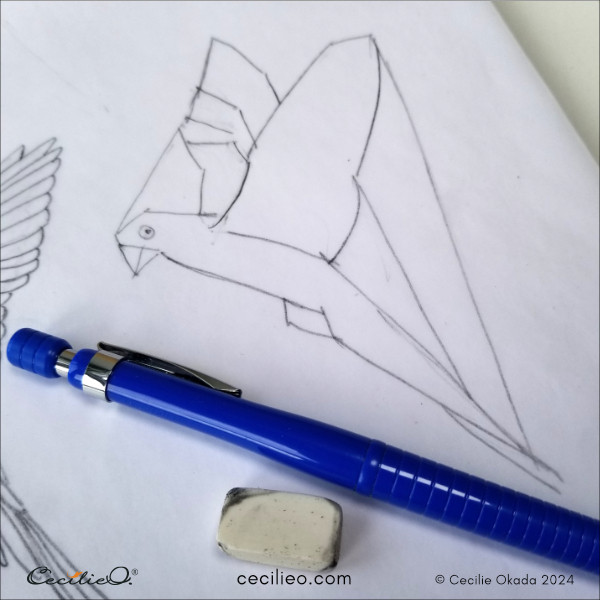
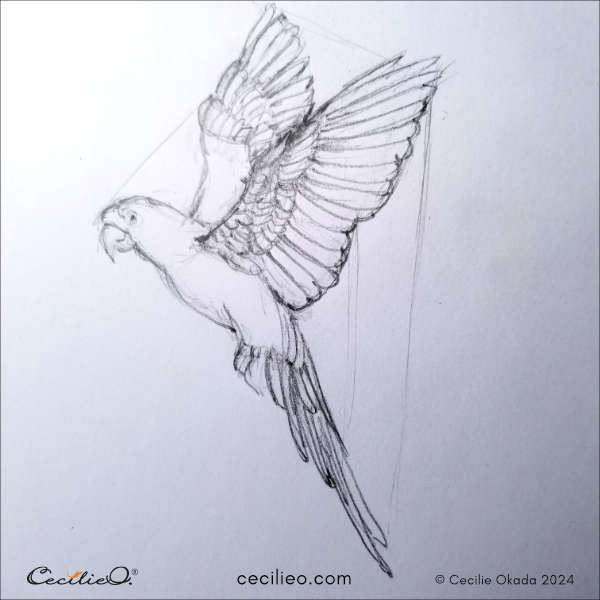
Add Feather Details
Only when you are satisfied with the general shape and proportions of your bird should you begin adding feather details. It’s perfectly normal to adjust, erase, and redraw parts of your sketch as you refine the form. Take your time and don’t rush this stage. It can be helpful to step away from your drawing for a while, then return with fresh eyes to spot areas for improvement.
 Step-by-step sketch adding feather details to a flying bird drawing.
Adding feathers brings your simplified outline to life and adds realism to your flying bird drawing.
Practice with Different Bird Poses
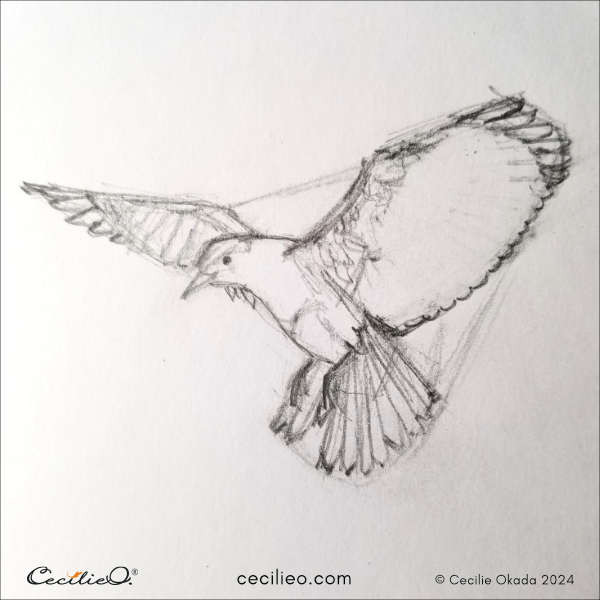
To further develop your skills, challenge yourself with birds photographed from more complex angles. The Osprey below presents such a challenge. Notice in the accompanying sketches how a simple outline is drawn first, breaking down the complex pose into manageable shapes.
 Step-by-step progression from reference photo to finished Osprey bird sketch.
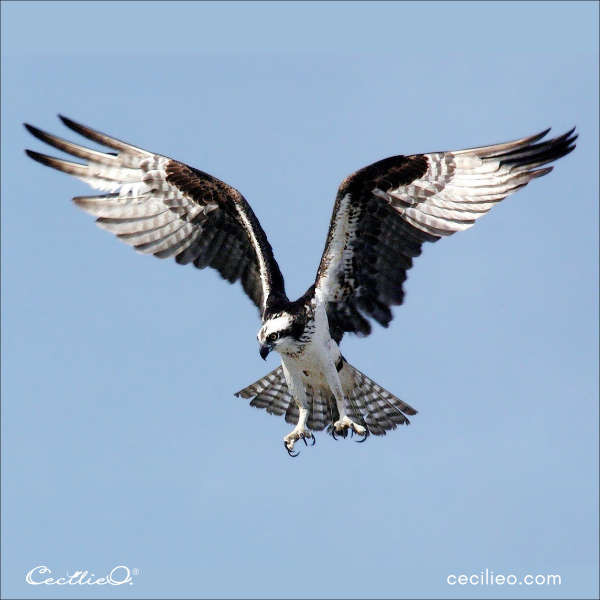 Reference photograph of an Osprey in flight for advanced drawing practice.
The flying bird in this reference photo is an Osprey, offering a more dynamic pose for practice.
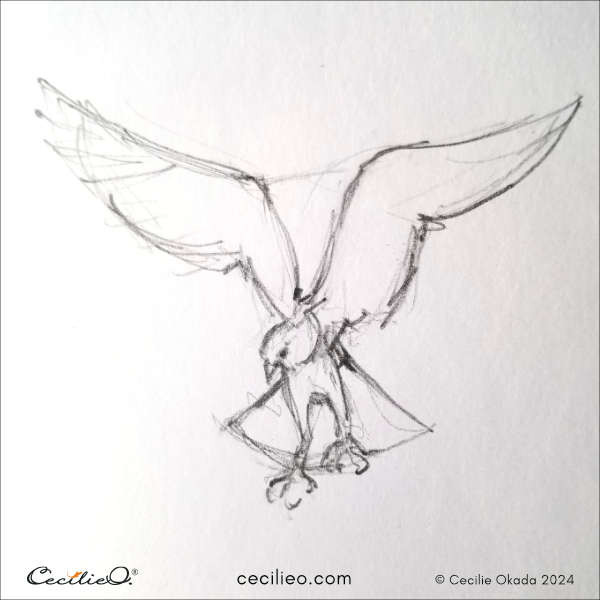 Initial outline sketch of an Osprey bird in flight, simplifying complex form.
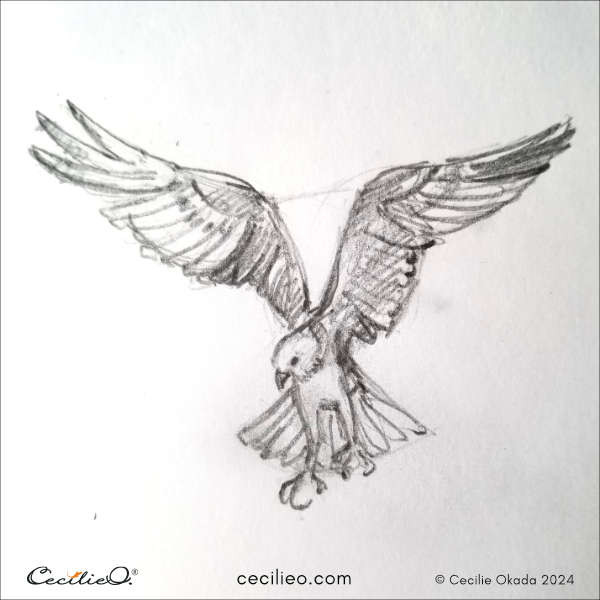 Finished detailed sketch of an Osprey bird in flight, showcasing refined technique.
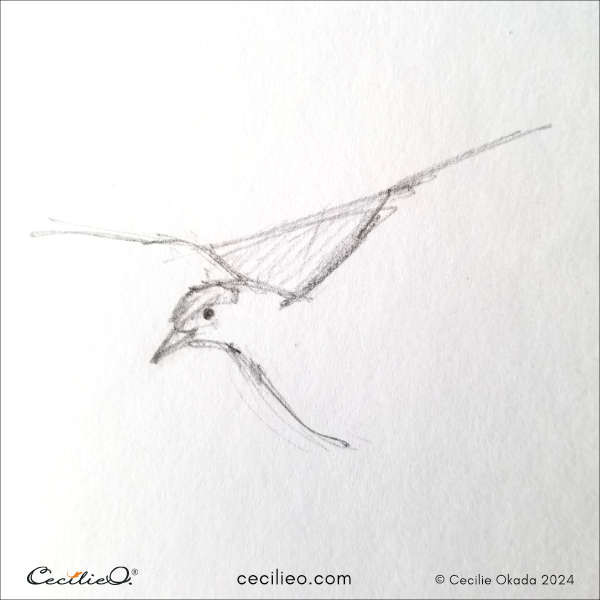
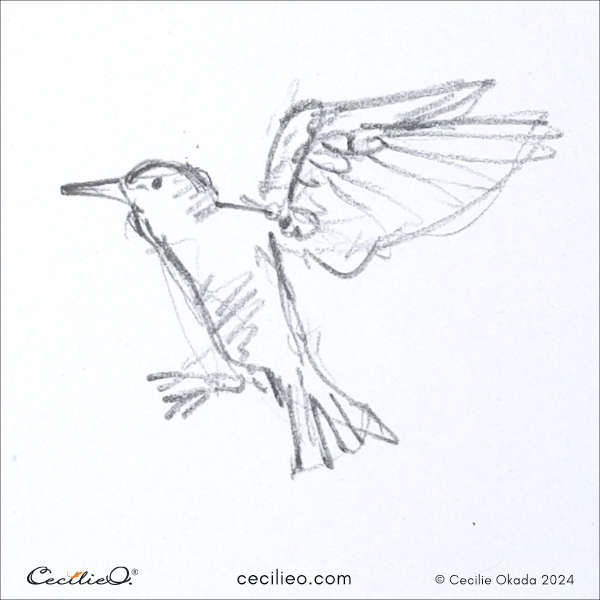
Hummingbirds are often considered one of the easier bird species to draw in flight. Perhaps it’s because many online photos show them in profile, or maybe it’s their balanced proportions between beak, head, body, wings, and tail. Regardless, try practicing with hummingbirds; they are beautiful subjects and enjoyable to sketch.
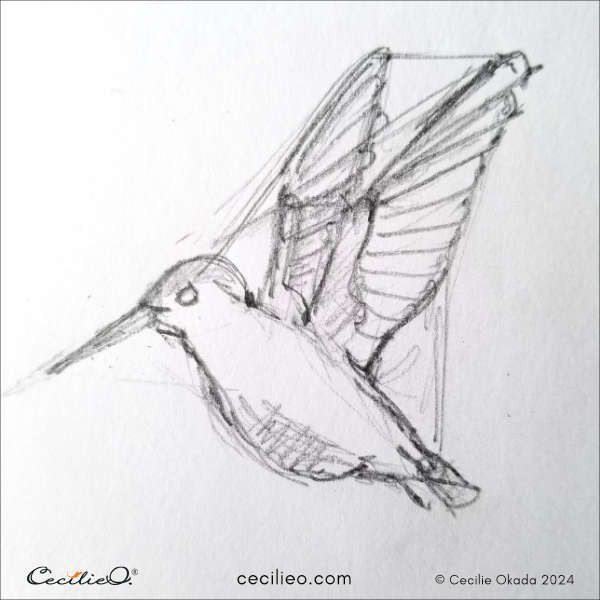 A quick sketch of a hummingbird in flight, ideal for practicing bird forms.
Warm-up with Quick Bird Sketches
A fantastic way to prepare for a drawing or painting session is to warm up with quick, small sketches of birds. Searching for “flying bird photo” on platforms like Pinterest or Google Images will provide endless inspiration. You can also explore Pinterest boards like “Color in Nature: Birds” for reference images. Instead of focusing on intricate details in these small images, quickly capture the overall form. Make fast scribbles of what you see. With practice, these scribbles will evolve into recognizable bird shapes. The key is to draw small (around 2 inches or 5 cm) and rapidly.
Below are examples of quick bird sketches created as warm-up exercises.
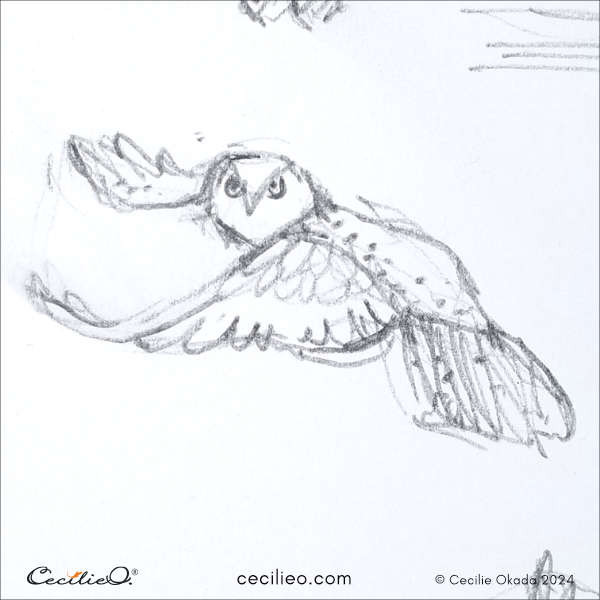 Quick, small sketch of a barn owl in flight for warm-up drawing practice.
 Fast, small drawing of a Heron bird in flight, perfect for sketching warm-ups.
 Very fast sketch of a hummingbird in flight, ideal for rapid drawing practice.
Hopefully, this tutorial encourages you to experiment with drawing birds in flight. With a bit of practice and these techniques, you might just surprise yourself with your own drawing masterpieces!