Learning to fly a plane might seem daunting, but understanding the basic principles and controls can make the process surprisingly accessible. This tutorial will guide you through the fundamental steps of piloting an aircraft, drawing inspiration from flight simulation to explain the core concepts. While we’ll reference a specific aircraft, the LKA-1A (available for flight simulator practice), the principles discussed are universal to flying fixed-wing airplanes.
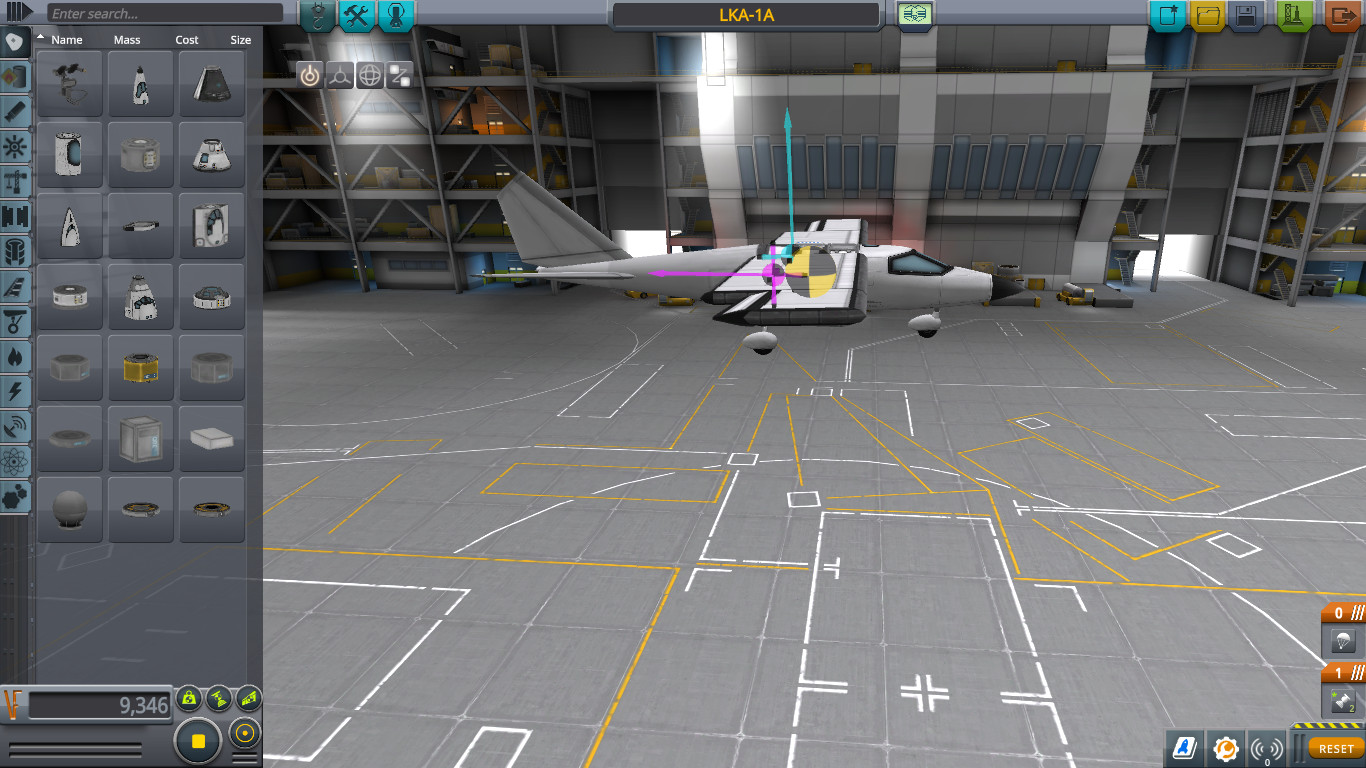 LKA-1A Aircraft Ready for Takeoff
Before you even think about takeoff, pre-flight preparations are crucial. In the world of flight simulation, this might be simplified, but the essence remains. Consider setting a reference point near your takeoff area. This helps with navigation and orientation, especially for beginners.
Taking Off: Initiating Flight
The takeoff phase is where you transition from ground to air. Here’s a step-by-step breakdown:
-
Engage Stability Augmentation System (SAS) and Deploy Flaps: The SAS helps maintain stability, crucial for novice pilots. Activate it using the designated control (often ‘T’). Deploying flaps (using Action Group 2 or a similar command) increases lift at lower speeds, aiding takeoff.
-
Throttle Up and Stage Engine: Increase the throttle to maximum power. Initiate the engine start sequence, typically by staging (often the spacebar). Listen for the engine to roar to life.
-
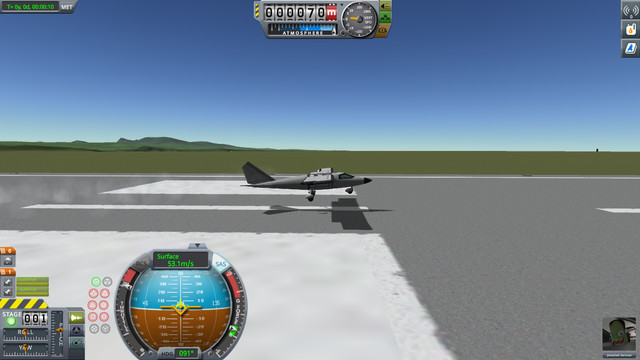
Initiate Takeoff Roll and Gentle Ascent: As the plane accelerates down the runway, monitor your airspeed. Around 40m/s (or the appropriate takeoff speed for your aircraft), gently pull back on the control stick (pitch up using ‘S’). Smooth, controlled inputs are key.
 Aircraft Taking Off with Flaps Deployed
- Retract Flaps After Liftoff: Once airborne and the main landing gear is off the ground, retract the flaps. This reduces drag and allows for efficient climbing.
Basic Maneuvering: Controlling Your Aircraft in Flight
Once airborne, mastering basic maneuvers is essential.
-
Climbing and Descending: Altitude control is fundamental. To climb, gently pitch up (pull back on the stick – ‘S’). To descend, pitch down (push forward on the stick – ‘W’). Adjust throttle as needed to maintain desired climb or descent rate and airspeed.
-
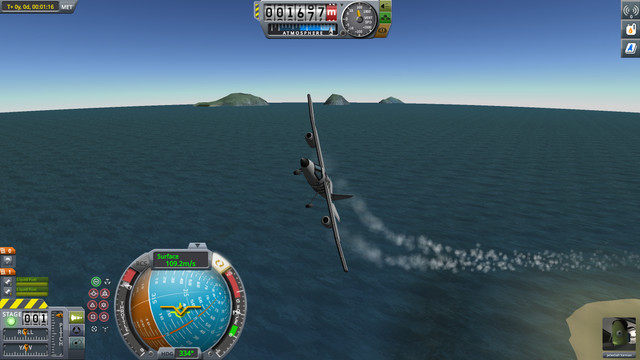
Making Turns: Large and Small Adjustments: Turning an airplane involves coordinating roll and pitch. For a significant turn to the left:
- Initiate Roll: Roll the aircraft to the left (anti-clockwise using ‘Q’). This banks the wings.
- Introduce Pitch: Simultaneously, gently pitch up (‘S’) to initiate the turn in the banked direction.
- Level Out: As you approach your desired heading, level the wings by rolling in the opposite direction (clockwise using ‘E’) and neutralize the pitch.
 Banking Aircraft During a Turn
-
Fine Course Corrections: For minor heading adjustments, such as aligning with a runway, use a combination of roll and yaw. To make a slight left turn:
- Small Roll Input: Apply a slight roll to the left (‘Q’).
- Introduce Yaw: Use the rudder to yaw left (‘A’). This gently nudges the nose of the aircraft in the desired direction.
- Level Wings: Once aligned, level the wings.
-
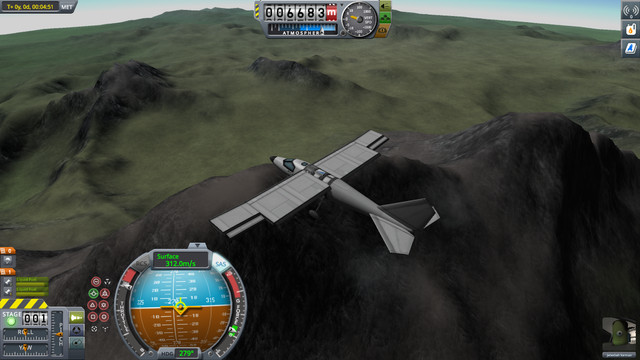
Practice Flight Exercise: A good exercise for beginners is to climb to a safe altitude (e.g., 7000m), fly to a landmark, perform a simulated report (or simply observe the scenery), and return to your starting point. This helps practice navigation and basic maneuvers.
 Aircraft Flying Over Mountainous Terrain
Landing: Returning to the Ground Safely
Landing is often considered the most challenging aspect of flying. A controlled approach and touchdown are vital.
-
Initiate Approach Early: Begin your landing approach well in advance, approximately 30km from the runway. Descend to a moderate altitude (e.g., 1000m above sea level) and reduce throttle to decrease speed to a landing-appropriate range (e.g., 55-70m/s).
-
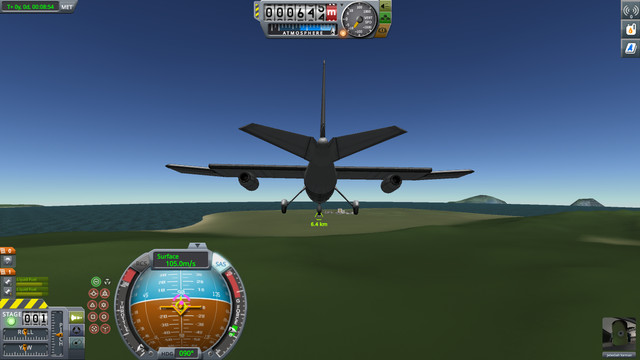
Align with Runway: Use navigational aids or visual references to align your aircraft with the runway. Imagine the runway extending in both directions and aim to intercept this extended centerline.
 Navigating Approach to Runway
-
Fine-Tune Alignment: Make small adjustments using the roll and yaw technique described earlier to precisely align with the runway. Smooth, incremental corrections are crucial during the final approach.
-
Final Approach and Descent: As you get closer to the runway, lower flaps (Action Group 2) to increase lift at lower speeds and steepen your descent angle if needed. Aim for a controlled descent rate (e.g., 5-10m/s) while maintaining your target airspeed (e.g., 45-55m/s).
-
Runway Threshold and Touchdown: As you cross the runway threshold, ensure your alignment is perfect and your speed is stable. Aim to fly just above the runway surface momentarily to bleed off any excess speed.
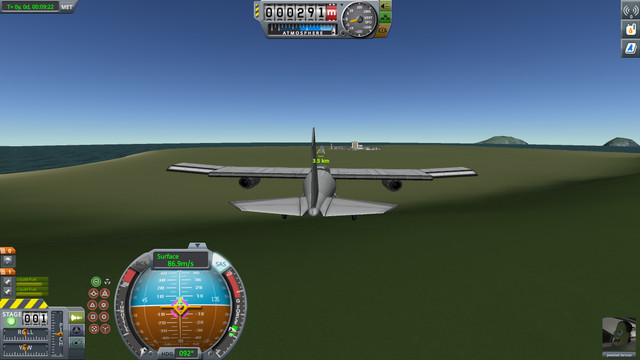
 Aircraft Aligned on Final Approach
- Gentle Flare and Braking: Just before touchdown, gently pitch up slightly (flare) to soften the landing. As the main landing gear contacts the runway, apply brakes.
 Touchdown on Runway Centerline
- Rollout and Mission Complete: Allow the aircraft to decelerate along the runway. Once safely stopped, you have successfully completed your flight!
Touchdown on Runway Centerline
Landing can be tricky, and practice is essential. If your first attempt isn’t perfect, don’t be discouraged. In flight simulation, you can always try again. And remember, even in the most challenging situations, a pilot’s skills and composure are paramount. Happy flying!
 Aircraft Safely Parked After Successful Landing
Adapted from tutorial by TheFlyingKerman, KerbalX.